My townhouse was built in the 1960’s, and back in the 60’s, they did weird things. For example, in my parents’ house, there was a wet bar in the entry when they moved it. Keep in mind that it was literally 15 steps from the entryway to the kitchen, but sure. Wet bar. Totally necessary. (Insert eyeroll).
Anyway, my house has a similar oddity in the entryway. A built-in desk. It sounds like a potentially useful thing except that there are drawers under the desk part, and even if you had a chair low enough to fit, you legs would pretty much have to be the size of paper towel roll inserts to be able to sit there. Plus, there’s no light. So, what exactly would you want to work on in the front hallway by the door? It was built before the age of computers, so maybe they expected kids to do their homework there and not at the built-in desk in the second bedroom? Whatever. Anyway, completely useless to me.
Well, not exactly useless. What it actually became was a flat surface to collect my purse, my work bag, my camera bag, sometimes my collection of sticky socks for Pure Barre workouts, and most things that I was planning on taking upstairs. It was a catchall. Not just any catchall though. It was pretty much a mini black hole catchall where things went and never left.
I got tired of looking at the mess. So… I decided I needed a little DIY project.
Here is the cleaned off, blank space (also notice the collection of shoes underneath):

Before I could start, I cleaned everything off. Then, my dad came over and we decided on where to put the shelf that I wanted to add. We put in the little white support rails and measured for the size of the plywood we would need for the shelf.

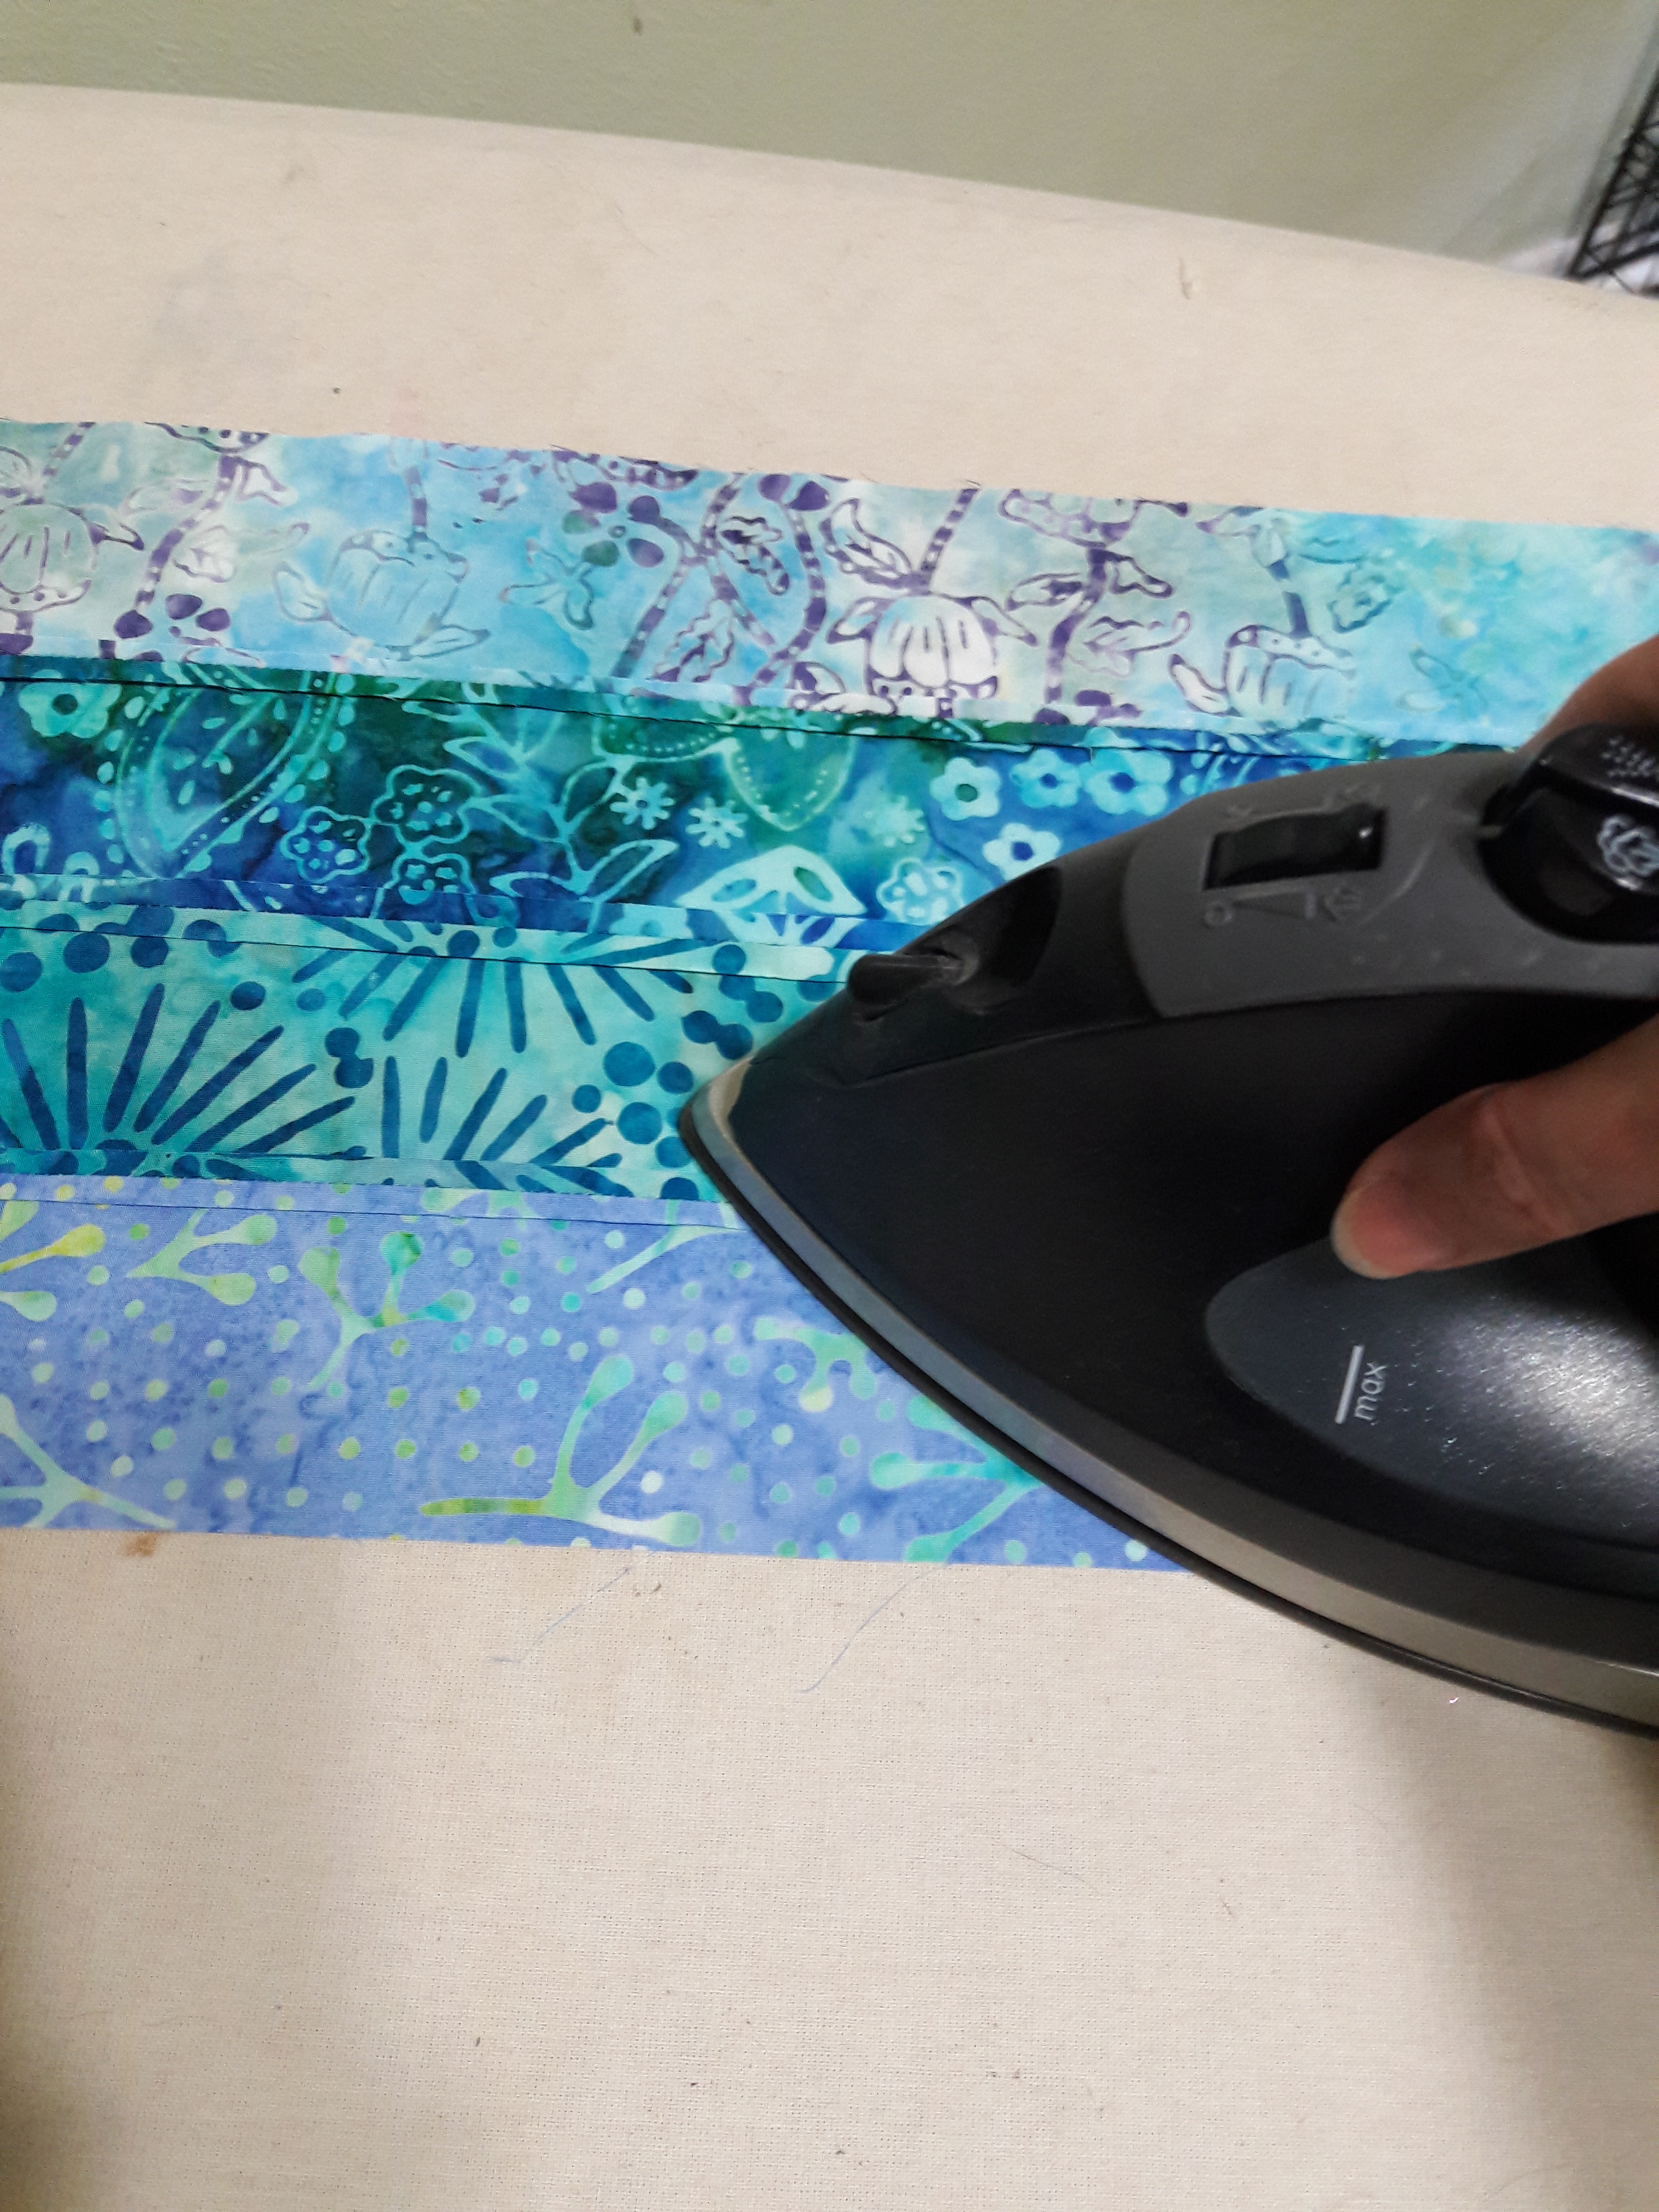
Once the little rails were in, I cut in with the paint that I wanted to use. I actually started the painting project an embarrassingly long time ago. When I moved in, the walls were all a strange light green. I am generally a fan of green. It’s a very pretty color depending on the hue, but this was not a pleasant green. I think the original idea was to make it look like something out of the Golden Girls – like tropical chic. I could buy into that. I like tropical things, and Miami style is usually pretty awesome. But this was not Miami chic. Anyway, I bought new paint a while back but quickly lost steam when I realized that if I painted the downstairs, I was going to have to also paint the stairwell… Yeah. I am a little taller than average, but even Shaq wouldn’t be able to reach the top of the stairwell. My dad suggested rigging up a makeshift scaffolding system involving a ladder perched precariously on a step and a piece of plywood stretching across the expanse of stairs, resting on the window sill of the little tiny window way up the wall. I’m all about a little adventure now and then, but that sounds a little sketchy even for me. Needless to say, the stairwell is still a putrid light green.
Anyway, since I already had some paint…


For the shelf… At Home Depot, they usually have hardwood, furniture-grade plywood in small pieces. Obviously, I didn’t need a standard sheet of plywood, which is like 4ft x 8ft. My space obviously isn’t that big. I found a nice 2ft x 4ft piece of plywood, and then took it to the back of the store. I’m not sure how it is in other places, but usually here, if they have enough trained people there, they will cut things for you. There is a limit on how many cuts they will make for free, but I only needed two. Luckily, there was a guy on duty who was authorized to use the saws, and he cut it to size for me.
I found a couple of cute woven baskets at Sam’s that were the right size. Then I just needed to make the rest of it look pretty.
I am a closet weather addict. Or okay, maybe not such much in the closet. I’ve been outed as a weather junky for years, but whatever. Anyway, I have a cool magnetic tracking chart that I got a few years ago. It was in my bedroom, but I have been wanting to bring it downstairs for a while now so that it would be more accessible. Luckily, it is just the right size! Also, I had a driftwood lamp that I got at Cracker Barrel a while back
I still need to tidy up the shoe pile underneath and may still varnish the shelf, but I am super happy with how it turned out.

The only things I really had to buy for this were the shelf and the baskets. My dad had the railing boards, and everything else was just sitting around my house waiting to be used. The little tracking chart on the side wall is actually a laminated placemat that I had gotten in Galveston a while back. It’s an actual NOAA chart, it is just cut to size and laminated.

I’m super happy with the way this turned out. It is a completely upgraded space, and because I already had most everything, it cost me around $50, including the baskets.
Now, I’m looking around trying to decide on my next DIY project. I am totally eying my dining room at the moment. It may be my next upgrade target.
Is there anything that you would like to see me DIY and post about? Message me or leave it in the comments below.
Happy upgrading!